Not yet consuming or cultivating microgreens? If so, you’re passing on a really simple method of boosting your nutrient intake.
You can grow your own microgreens. Let’s take a look at what they are and how you can introduce them to your own garden…and diet.
What are microgreens?
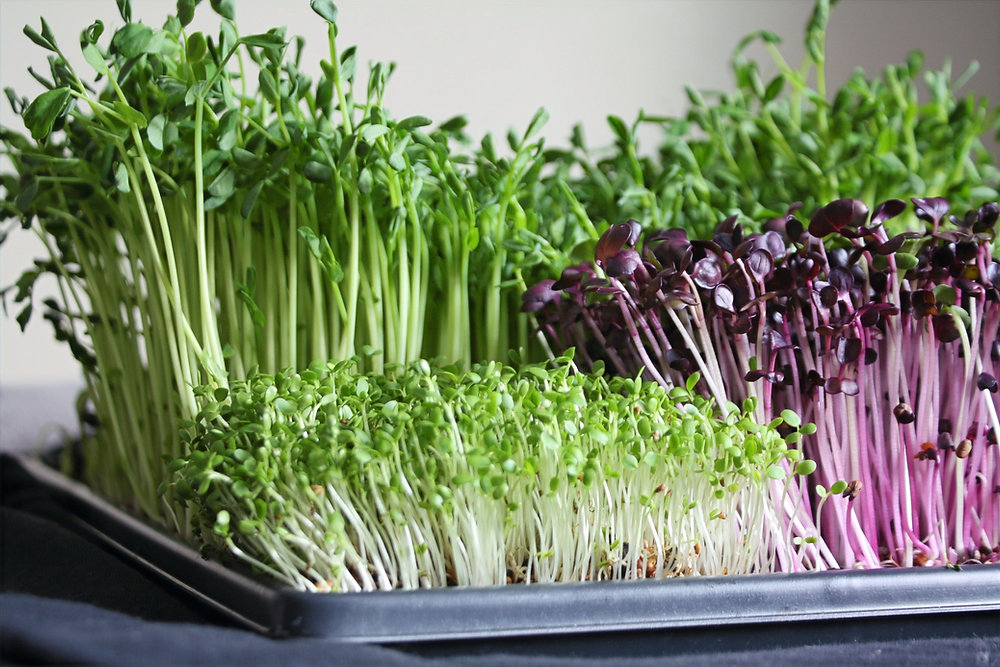
The first real leaves to emerge from a seedling are called microgreens, and they frequently appear before 14 days. These greens are young and only grow to a height of one to three inches. If you ignore those, a full-fledged leafy plant will grow. Microgreens are used more often in restaurants to garnish salads and soups, so you could even be more familiar with them than you think. But it’s likely that you were unaware of their excellent health!
Because of their many health advantages and culinary variety, microgreens have become increasingly popular in India in recent years. Fenugreek microgreens, sometimes referred to as methi, are among the most widely used types. These mildly bitter greens are frequently used in Indian cooking to give salads, curries, and parathas a distinctive flavor. Because they are thought to improve digestion and control blood sugar, fenugreek microgreens are also well-known for their therapeutic qualities.
Mustard microgreens are another type of microgreen that is frequently grown in India. Like their mature counterparts, these greens are peppery and pungent. Mustard microgreens are frequently used as a garnish for a variety of foods as well as in salads and sandwiches. Additionally, they are abundant in vital minerals like folate, vitamin K, and vitamin C.
How to Grow Microgreens?
Now that you are aware of the advantages of microgreen cultivation, let’s examine the detailed procedure.
Step 1: Calculate and Measure the Optimal Amount of Seeds
Finding the quantity of seeds required for your trays is the first step. The size of your trays and the density at which you choose to cultivate your microgreens will determine this. To find the ideal quantity of seeds, use our helpful calculating guide.
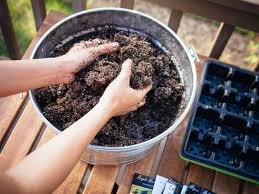
Step 2: Prepare Your Trays and Growing Media
After that, thoroughly clean your trays to get them ready. Hydroponic systems or trays with drainage holes are your options. Select a premium growing medium, like soil or coconut coir, then cover the trays with 1-2 inches of it.
Step 3: Seed Your Trays
Your trays need to be seeded now. Evenly distribute the seeds over the growing media’s surface. To guarantee proper contact with the media, gently press them down. Apply a thin layer of vermiculite or growth media over the seeds.
Step 4: Microgreens Growth and Management
The trays should be placed under grow lights or on a windowsill or in another warm, well-lit spot. Make sure the soil is damp but not soggy. Keep an eye on the microgreens’ development and adjust the light and water parameters as needed.
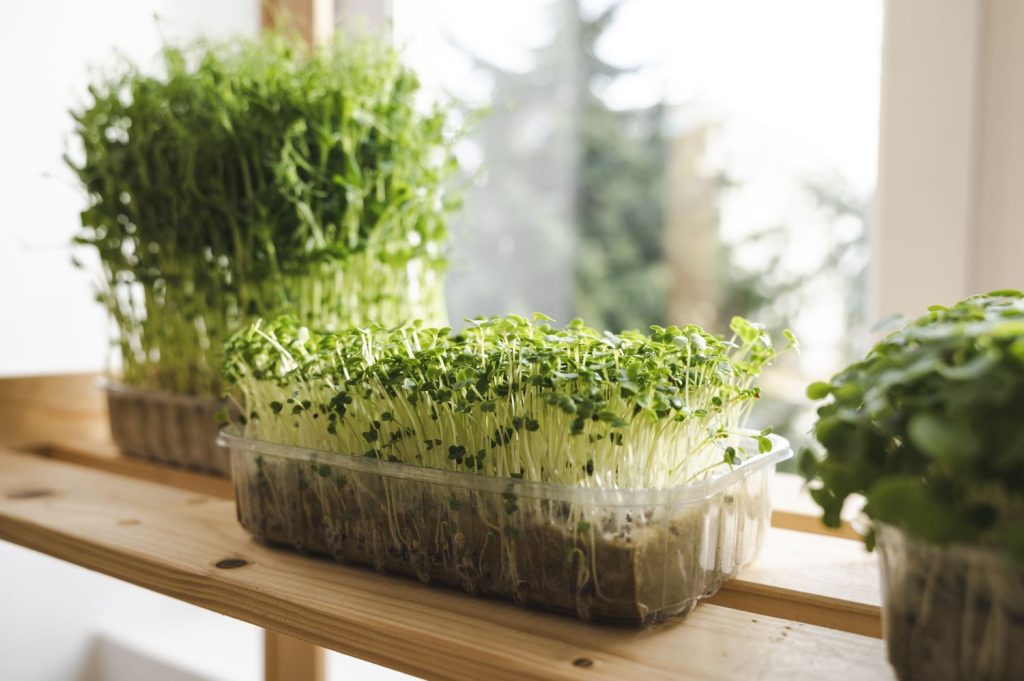
Step 5: Microgreens Harvest
Your microgreens will be ready for harvesting in one to two weeks. Cut the greens just above the soil line with a knife or a pair of sharp scissors. To get rid of any dirt or debris, give them a gentle rinse. You can now enjoy your cultivated microgreens!