Are you looking for a simple way to add powerful nutrition and vibrant flavor to your meals? Look no further than microgreens! These tiny seedlings are not only packed with nutrients (often 4x to 40x more concentrated than their mature counterparts!), but they are also incredibly easy to grow right on your kitchen counter.
In just 7 to 21 days, you can go from seed to superfood. Here is your step-by-step guide to starting your own indoor microgreen farm.
What Are Microgreens? (They’re Not Sprouts!)
Microgreens are young vegetable greens harvested just after the first leaves (called cotyledons) have fully developed, and before the “true leaves” appear.
- Microgreens: Grown in soil/medium, need light, and are harvested by cutting the stem just above the soil line. They are all about flavor and nutrient density.
- Sprouts: Germinated in water or jars, harvested before they have any leaves.
Step 1: Gather Your Supplies
The beauty of microgreens is that they require very little space and specialized equipment.
| Item | What to Look For | Why You Need It |
| Seeds | Specialized microgreen or sprouting seeds. Easy varieties: Radish, Broccoli, Pea, Sunflower, Mustard. | High germination rate is crucial for a dense crop. |
| Trays/Containers | Shallow trays (1-3 inches deep) with drainage holes are ideal, but any shallow food-safe container works! | They only need a small amount of soil to anchor their tiny roots. |
| Growing Medium | Seed-starting mix, organic potting soil, or even soilless options like coco coir or hydroponic grow mats. | Provides a clean, sterile base for the roots. |
| Watering Tool | A small spray bottle or mister. | You need to keep the soil moist without disturbing the tiny seeds or delicate stems. |
| Light Source | A sunny south-facing windowsill, or an inexpensive LED grow light. | Needed for the greens to develop their vibrant color and full nutrient profile. |
Step 2: Sow and Settle the Seeds
This is where the magic begins!
- Prep the Tray: Fill your container with 1 to 2 inches of your chosen growing medium. Gently pat the surface to make it level and firm.
- Moisten the Soil: Thoroughly mist the soil until it is damp but not soggy. Remember, overly wet soil is the #1 cause of mold!
- Sow the Seeds: Spread the seeds densely and evenly across the entire surface. You want them close together, but ideally not piled on top of each other. Pro Tip: Larger seeds (like peas or sunflowers) benefit from a 6-8 hour presoak.
- The Blackout Period (Optional but Recommended): Lightly mist the seeds one last time. Cover the tray with a lid, a solid second tray, or even plastic wrap. This darkness encourages the seeds to germinate quickly as they stretch to find light. Keep it covered for 2–4 days.
Step 3: Light, Water, and Growth
Once you see tiny white sprouts emerging from the seeds, it’s time for light!
- Introduce Light: Remove the cover and place the tray in your sunny window or beneath a grow light (position it 3–5 inches above the greens). They need at least 4–6 hours of good light per day.
- Maintain Moisture: Water once or twice daily, but be gentle! Continue to mist the surface lightly, or if your tray has drainage holes, try bottom watering by placing the tray in a larger basin of water for 10-15 minutes until the soil absorbs the moisture.
- Watch Them Grow: You will see the stems thicken and the cotyledons (first leaves) expand and turn a deeper green. If they look “leggy” (tall and weak), they need more light!
Step 4: Harvest and Enjoy
Most microgreens are ready for harvest between 7 and 21 days after planting, depending on the variety.
- When to Harvest: Harvest when the plants have reached about 2 to 3 inches tall and have their first set of well-developed cotyledons.
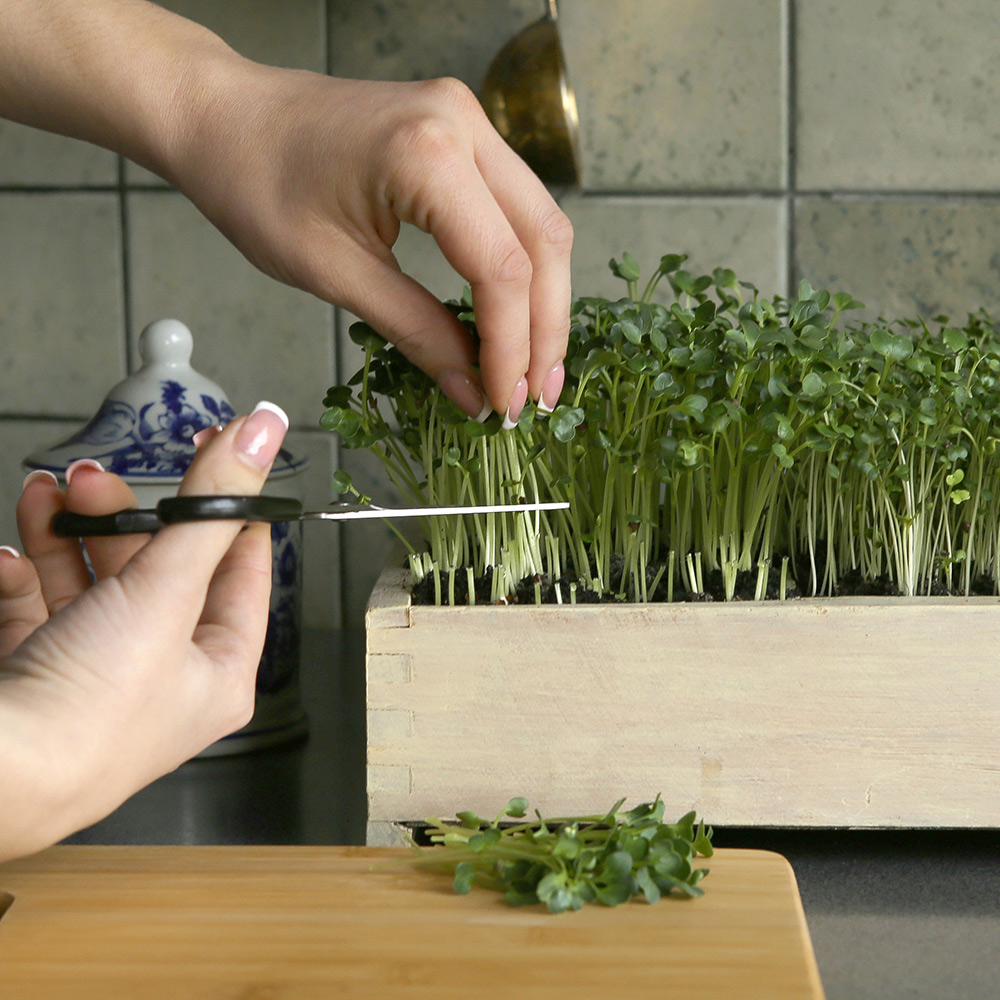
- How to Harvest: Use a clean, sharp pair of scissors or a knife. Gently grab a small bundle and cut the stems just above the soil line.
- Enjoy! Microgreens do not regrow after being cut. Use them immediately for the best flavor and nutrition! Store any extras, unwashed, in a sealed container in the refrigerator for a few days.
Trouble Shooting: Common Microgreen Mistakes
- Mold/Fungus: You are likely overwatering or the seeds are too overcrowded. Ensure there is good air circulation.
- Leggy/Pale Plants: They are not getting enough light. Move them to a brighter spot or lower your grow light.
- Poor Germination: Seeds may be old, or the tray dried out during the blackout period.
Start your first batch with an easy grower like Radish or Broccoli! You’ll be amazed at how quickly you can cultivate your own fresh, flavor-packed superfoods.